
OVERVIEW
HDOnTap’s proprietary Time-Lapse Service allows you to easily and automatically generate multiple time-lapses from a single tour, customized by preset, frames per second (FPS), resolution and bitrate.
PREREQUISITES
- You must have your Time-Lapse login.
Contact your Customer Administrator or HDOnTap Support if you need assistance with your Time-Lapse credentials. - You must have an existing time-lapse tour.
STEP-BY-STEP INSTRUCTIONS
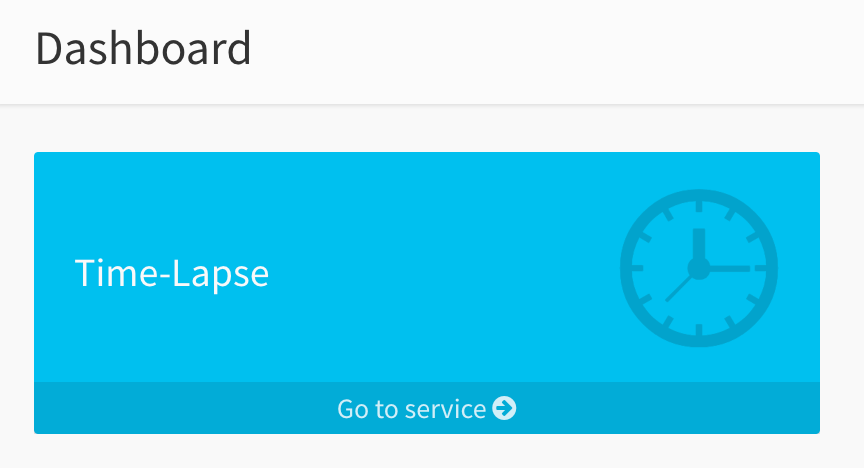
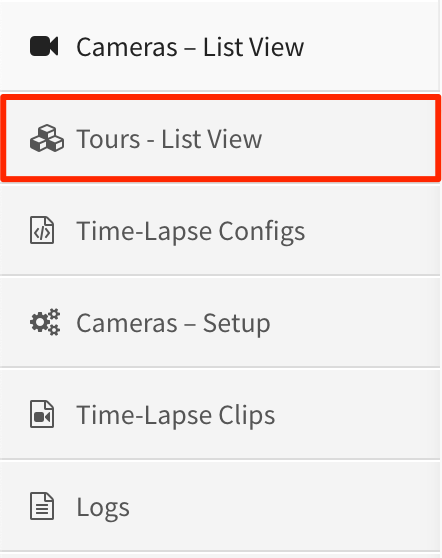
1. Log into the HDOnTap Time-Lapse Portal and navigate to the Time-Lapse Service > Tours – List View: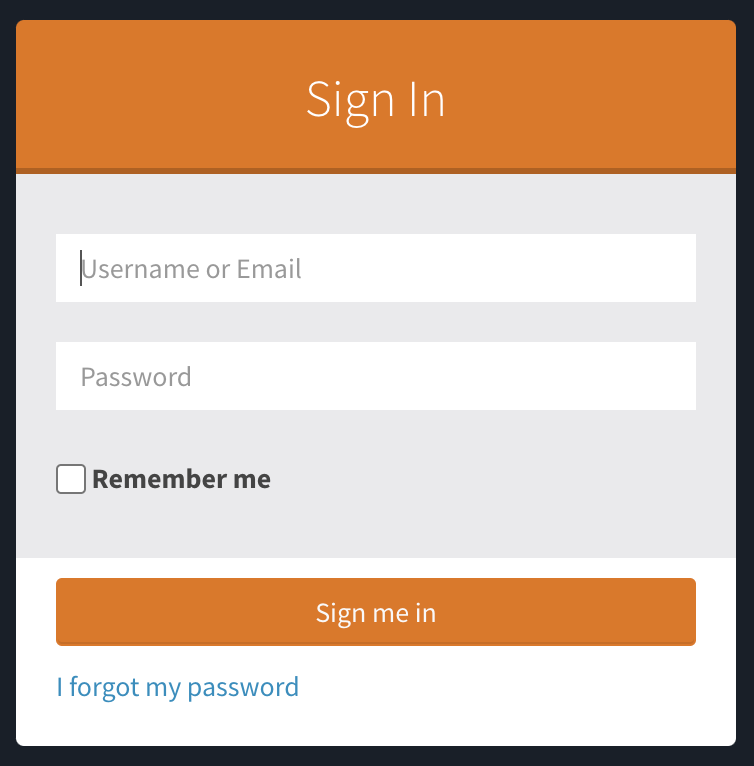
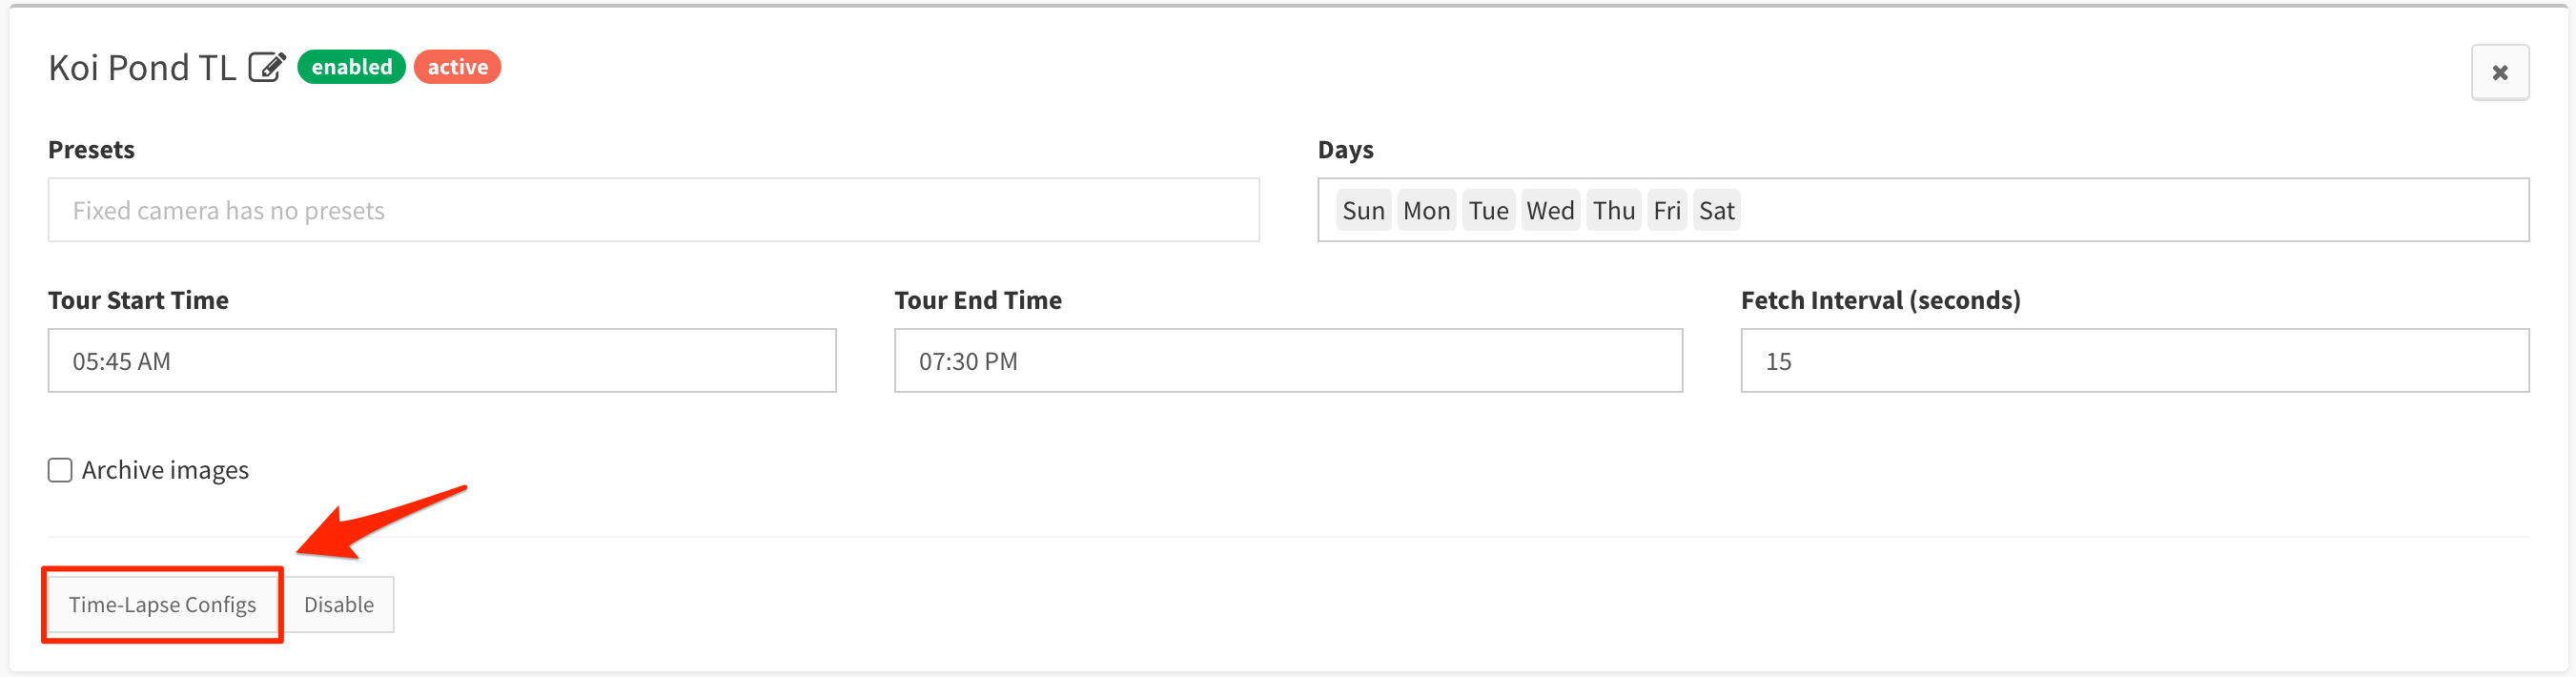
2. Click on the Tour Name that you would like to create a time-lapse config for, then click Time-Lapse Configs:
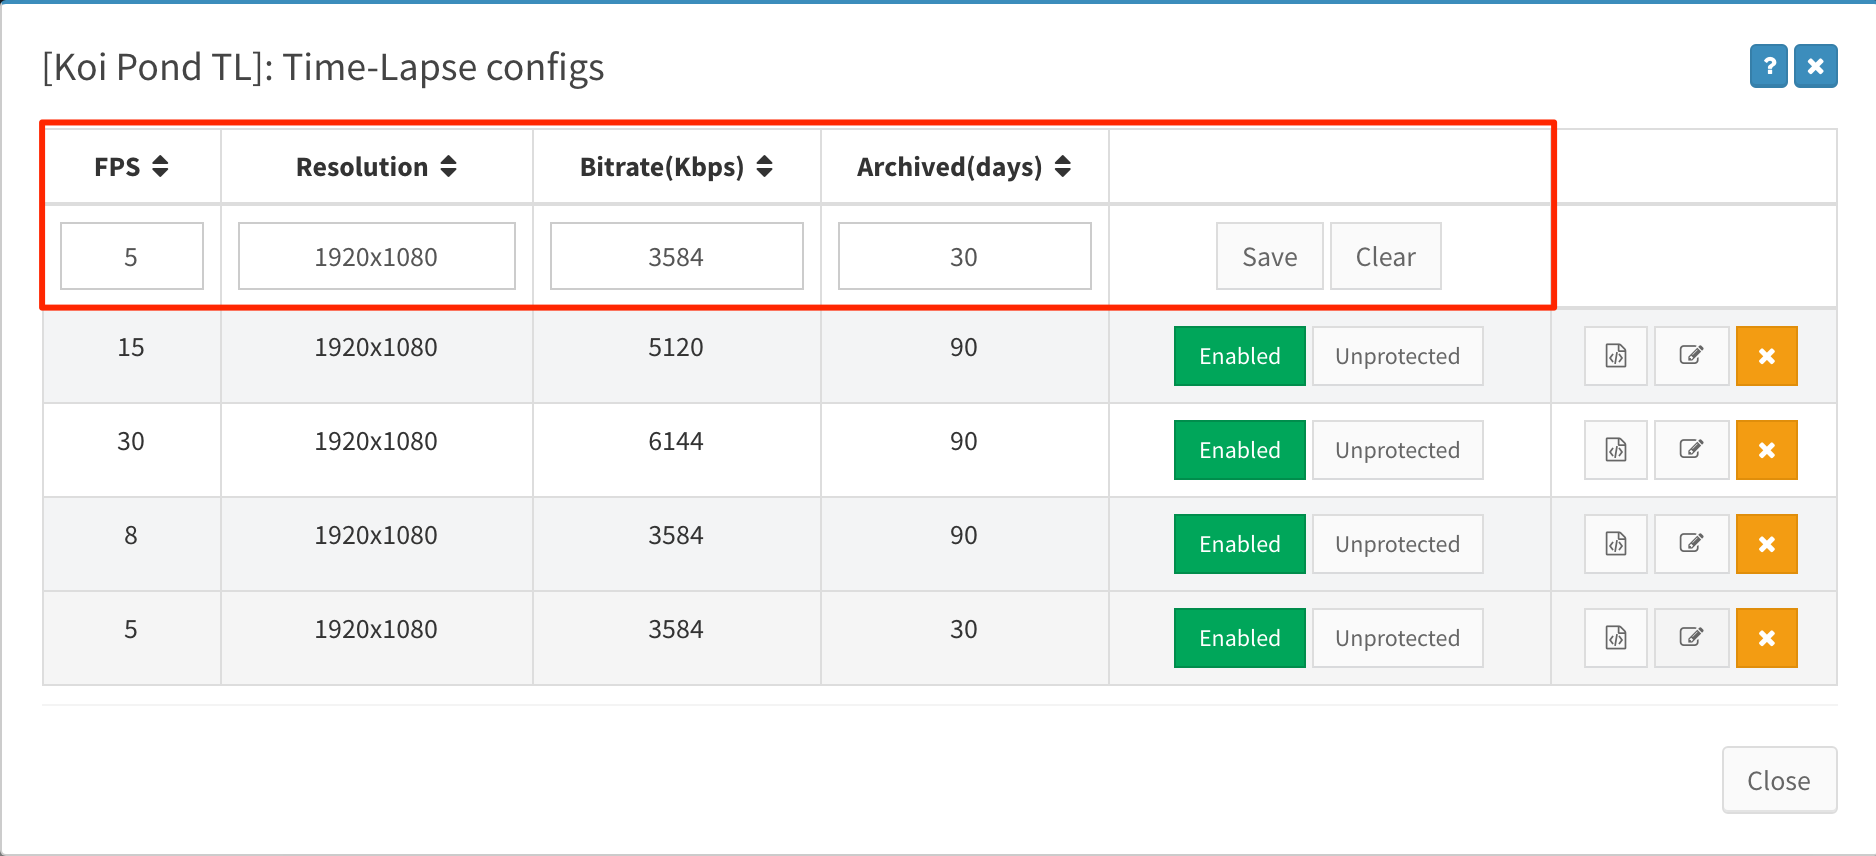
3. Create your time-lapse config by choosing your desired settings then clicking Add. There is no hard-and-fast rule for choosing config settings, and it will likely take some trial-and-error to find the appropriate balance for your network capabilities and desired time-lapse aesthetic.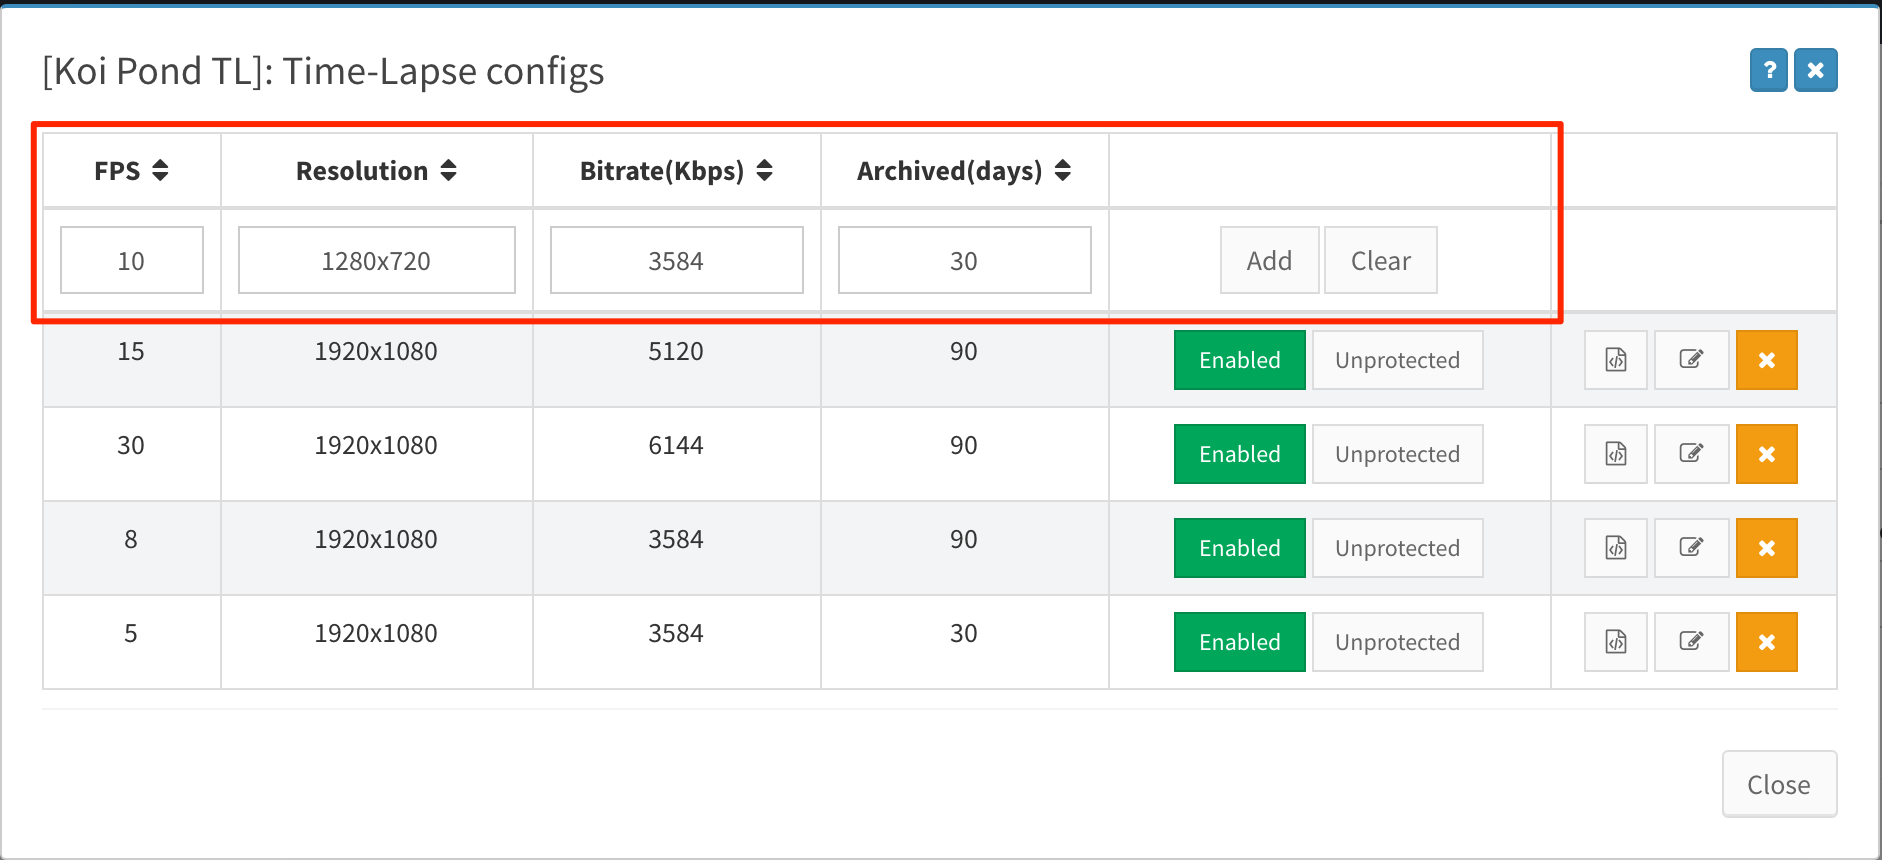
TIME-LAPSE CONFIG SETTINGS
Preset (Available only for PTZ cameras)
The camera preset that will be used to create the time-lapse clip.
FPS (Frames Per Second)
FPS affects both the visual motion and length of the clip. The higher the frame rate, the smoother the motion of the time-lapse clip. If two configs are identical except for the FPS, the config with the higher FPS will generate a shorter clip.
Resolution
The pixel size of the generated time-lapse clip.
Bitrate (Kbps)
The data rate for the specified time-lapse config. Higher resolutions and FPS require higher bitrates, however, it is important to be aware of the bandwidth capability of the camera’s network. Setting too high a bitrate may result in pixelating or other visual defects. In addition, higher bitrates result in larger filesizes.
Archived
The number of days that generated time-lapse clips are available in time-lapse embeds and for downloading from Time-Lapse Clips.
Once the config has been added, the following options will be available:
Time-Lapse Config Status
Once you add a time-lapse config, its status will be automatically set to Enabled. If you would like to pause the creation of time-lapse clips for this config, toggle the button to Disabled.
Time-Lapse Config Protection
By default, new time-lapses will be set to Unprotected, which means that the system will automatically remove clips once they hit the number of days set in the Archivesetting. Toggling this option to Protected keeps generated time-lapse clips from being deleted and also tells the system NOT to remove the time-lapse clip when the Archive days have been reached.
4. VIEWING, EDITING AND DELETING EXISTING CONFIGS
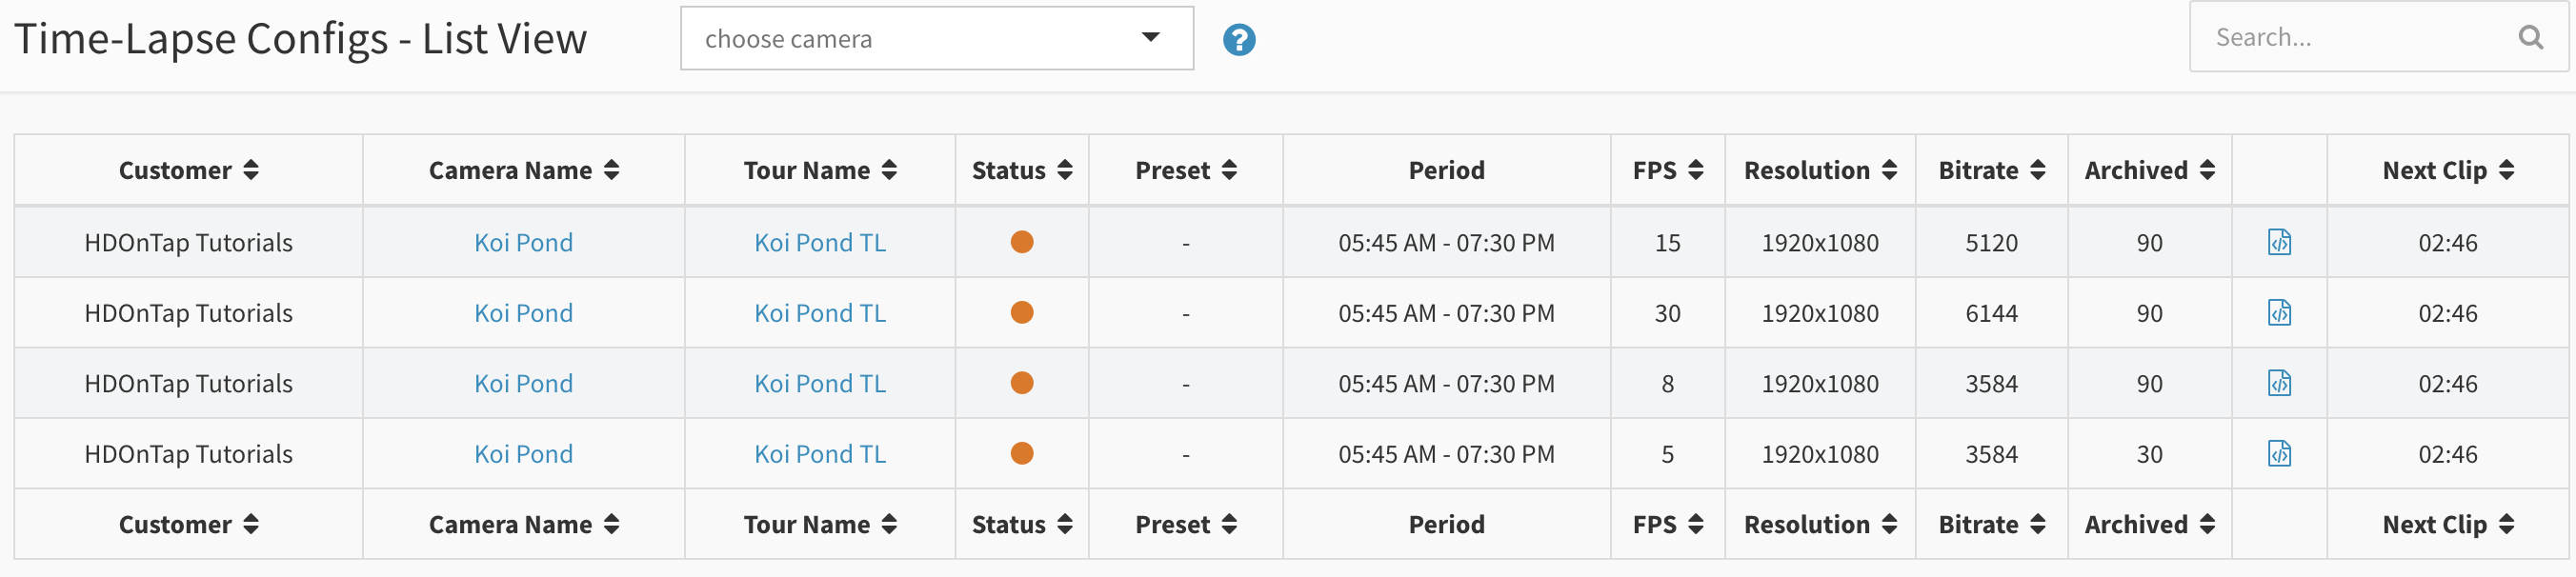
To see a list of all existing time-lapse configs, log into the HDOnTap Time-Lapse Portal and navigate to the Time-Lapse Service > Time-Lapse Configs: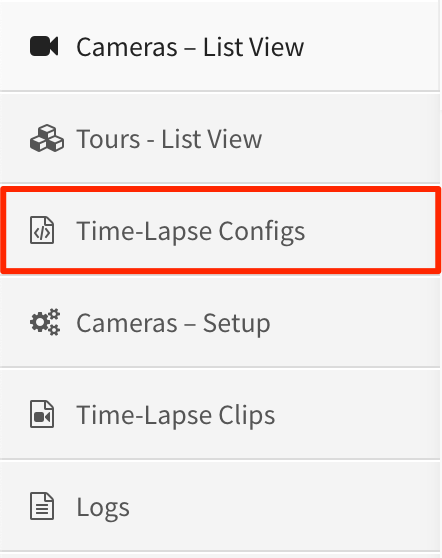
To edit an existing time-lapse config, click on the tour name, then click Time-Lapse Configs as in Step 2 above.
Click the edit icon for the config you would like to change, then adjust the values and click Save. Clicking Clear will cancel any changes.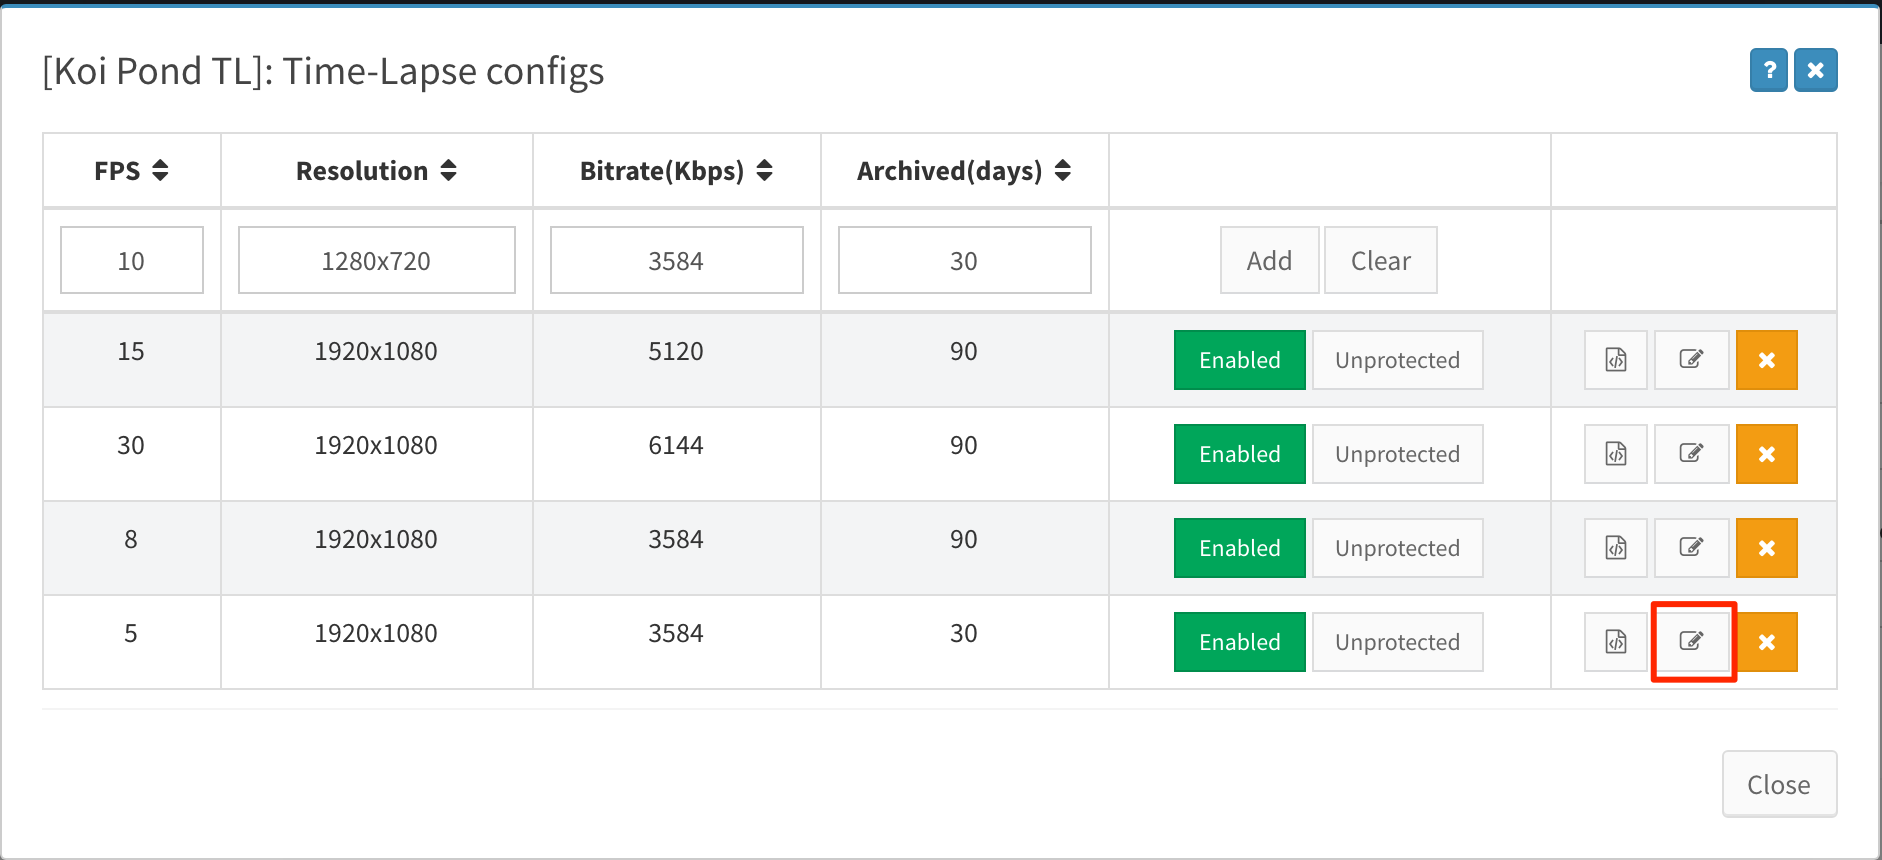
To delete an existing time-lapse, click the x for the time-lapse config you wish to remove and click Delete in the confirmation pop-up.
